
How I Built a Mobile Workbench from 2x4s and Plywood
A plain rolling workbench: a 2x4 frame, a plywood top, a full lower shelf and locking casters. I drew the workbench plans in three lengths, then built the smallest one myself to check every part and step. Here is what I used, how long it took, and what went wrong.
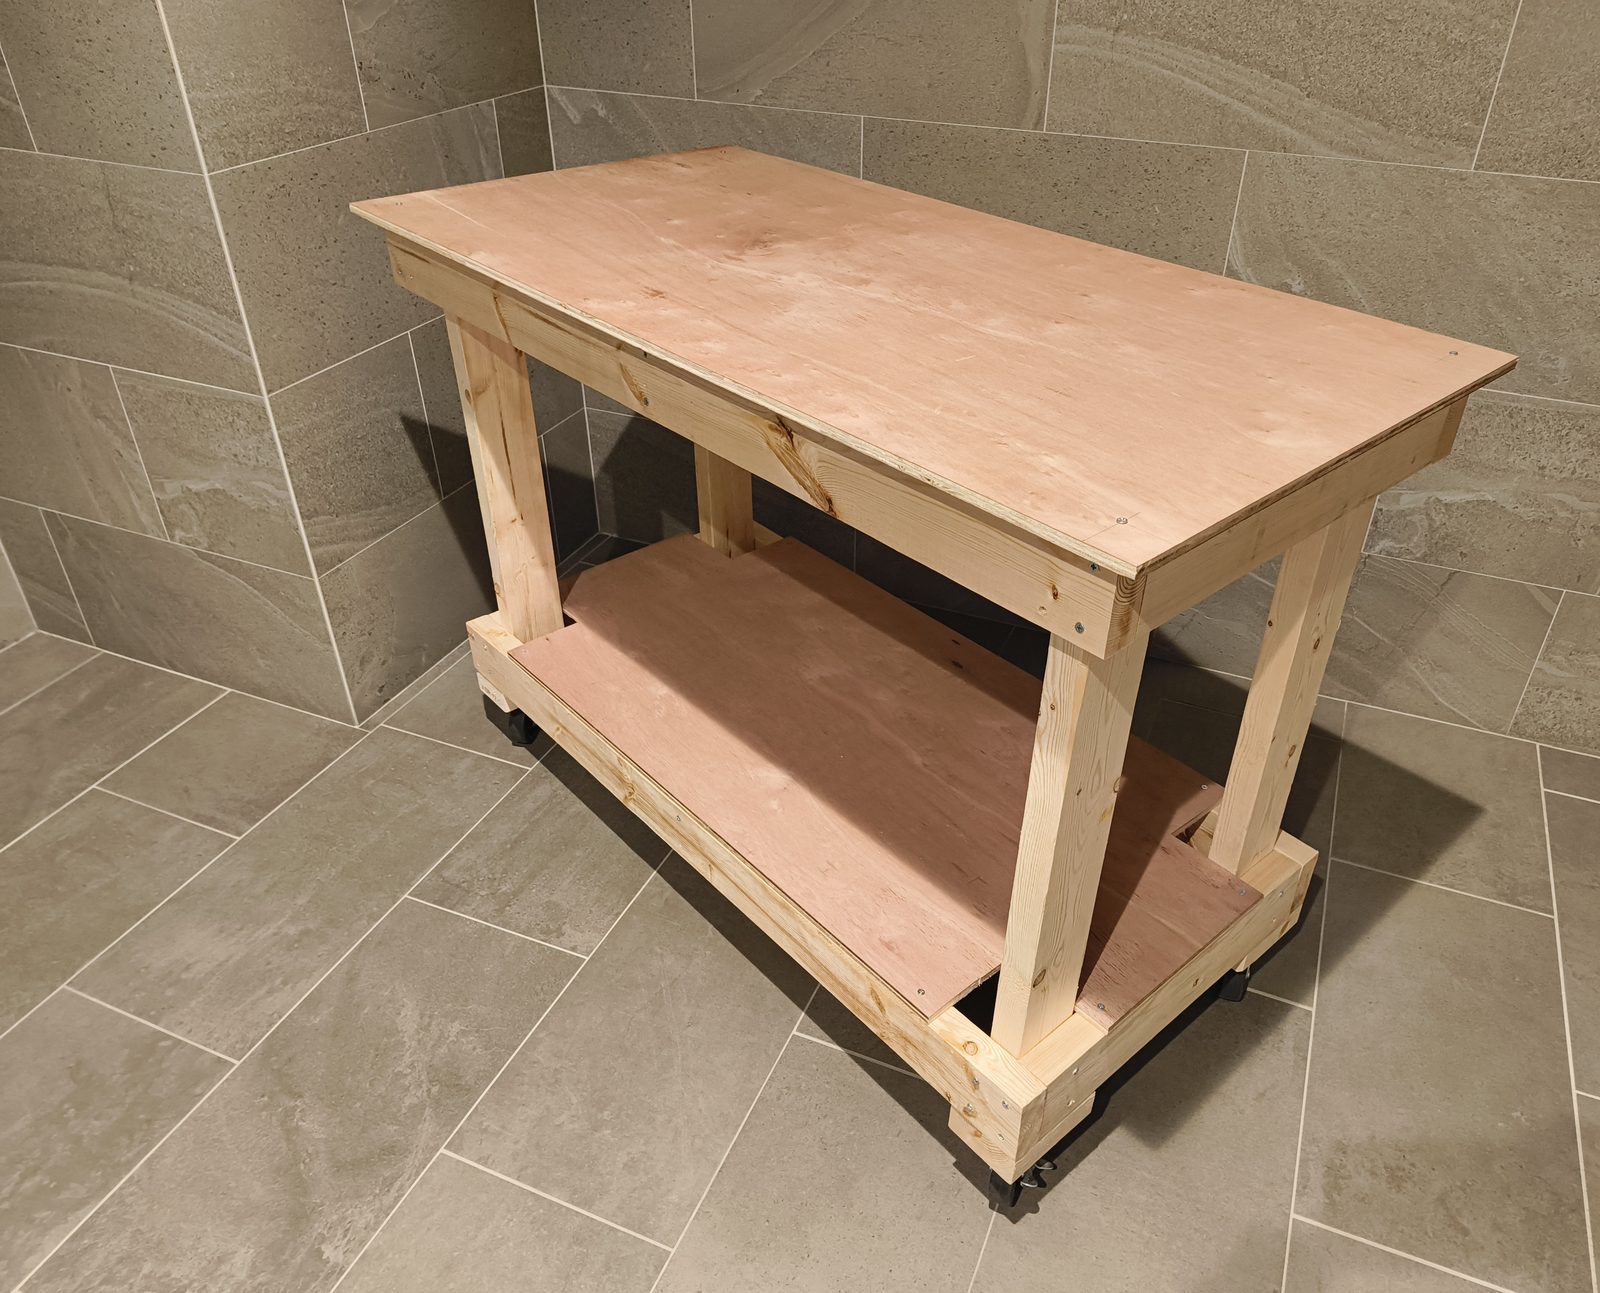
The design in short
I wanted a bench that is simple enough for a first build, strong enough for real work, and easy to push out of the way. So the design stays close to the basics:
- Frame: 2x4 lumber, screwed and glued. Straight cuts only.
- Top and shelf: plywood. In the plans, both come out of one 4×8 sheet in every size.
- Lower shelf: full length, with a notch at each corner so it drops in around the legs.
- Casters: four locking swivel casters (six on the 8 ft bench), screwed to 2x4 pads under the bottom frame.
- Sizes: 4, 6 or 8 ft long and 24" deep (1200 / 1800 / 2400 × 600 mm in the metric plans). The working height is 34", 36" or 38" (850 / 900 / 950 mm). Only the legs change.
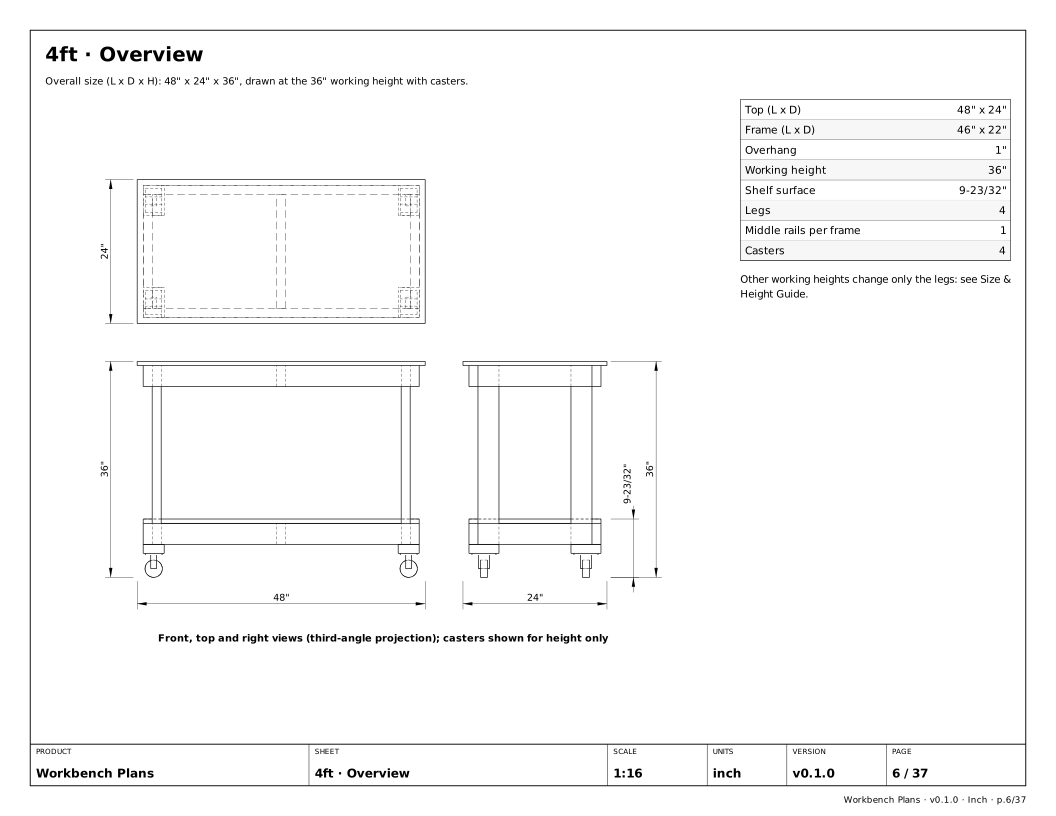
What I used
I live in Japan, so I built the metric version with what my local home center had. That meant a few changes from the plans:
| The plans (metric) | My build | |
|---|---|---|
| Plywood | One sheet of 18 mm, 1220 × 2440 | Two smaller sheets of 15 mm (910 × 1820, the common size here) |
| Lumber | 38 × 89 mm (2x4) | 38 × 90 mm SPF, three long boards and one offcut |
| Casters | 75 mm, all with brakes | 75 mm, two with brakes and two without |
| Screws | 5 × 65 and 5 × 90 mm wood screws for the frame, 6 × 30 mm lag screws for the casters | |
The whole build cost me about 12,700 yen, including the hardware, the store's cutting fee and a few small tools. In the US, I estimate the 4 ft bench at about $185 in materials; around a third of that is the locking casters. Prices vary a lot by store, so treat this as a rough guide.
The inch plans use 3/4" plywood and 8 ft 2x4s: five 2x4s for the 4 ft bench, seven for 6 ft and nine for 8 ft.
The build
I had the home center cut the plywood and the 2x4s to the cut list, so most of the work at the bench was cutting the four shelf notches, drilling and driving screws. From store-cut parts to a finished bench took me about 3 hours, and that includes a 30-minute trip to buy a tool I had forgotten.
1. Build the frames upside down
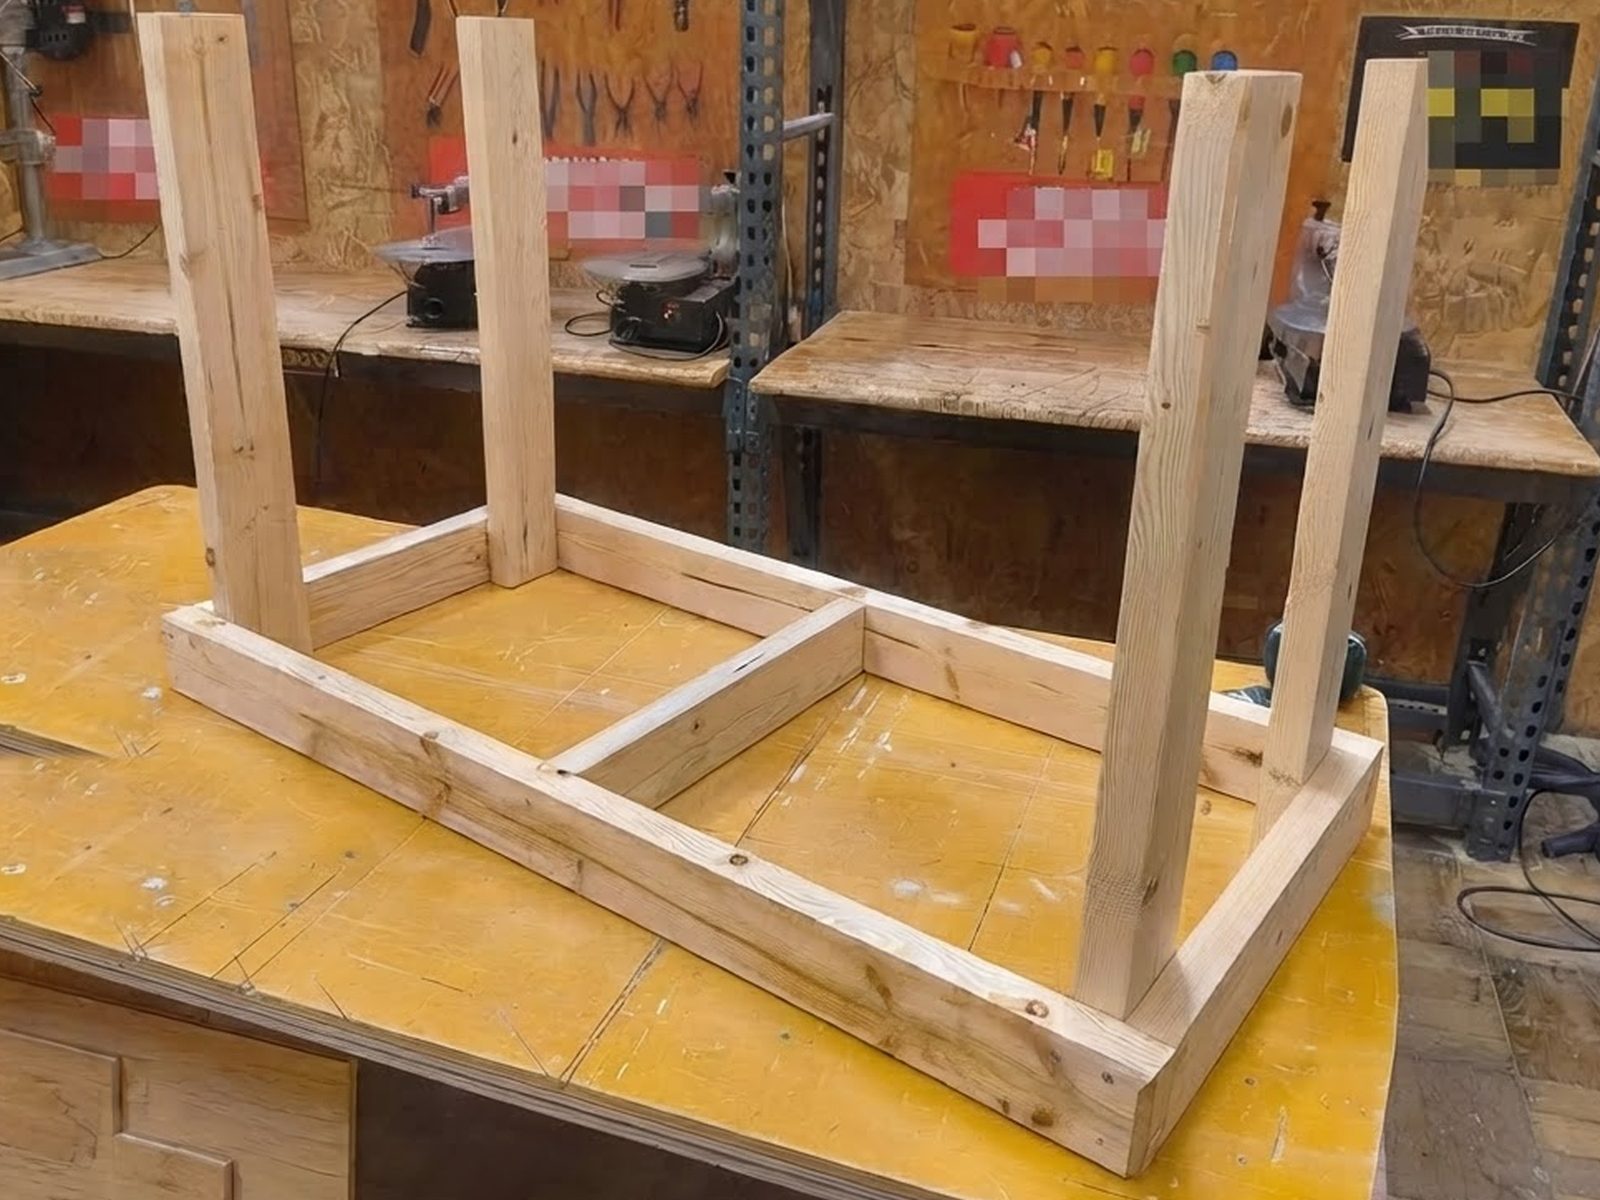
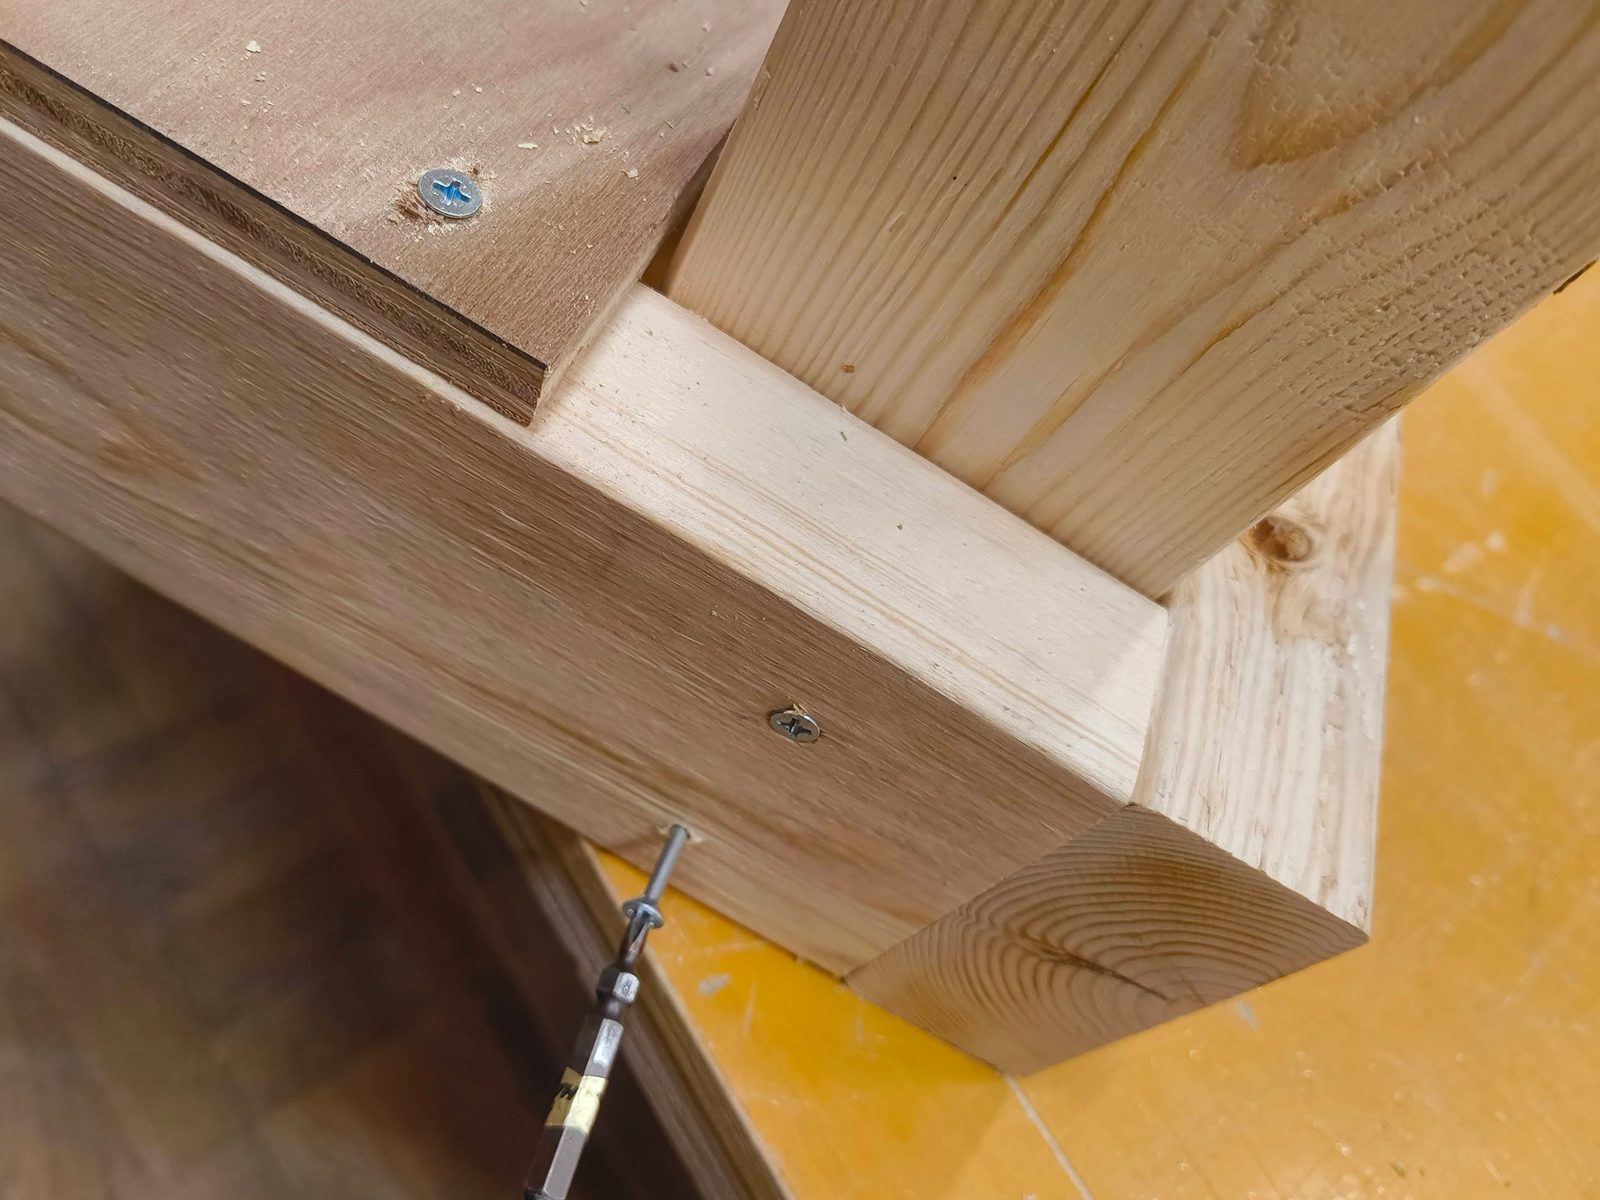
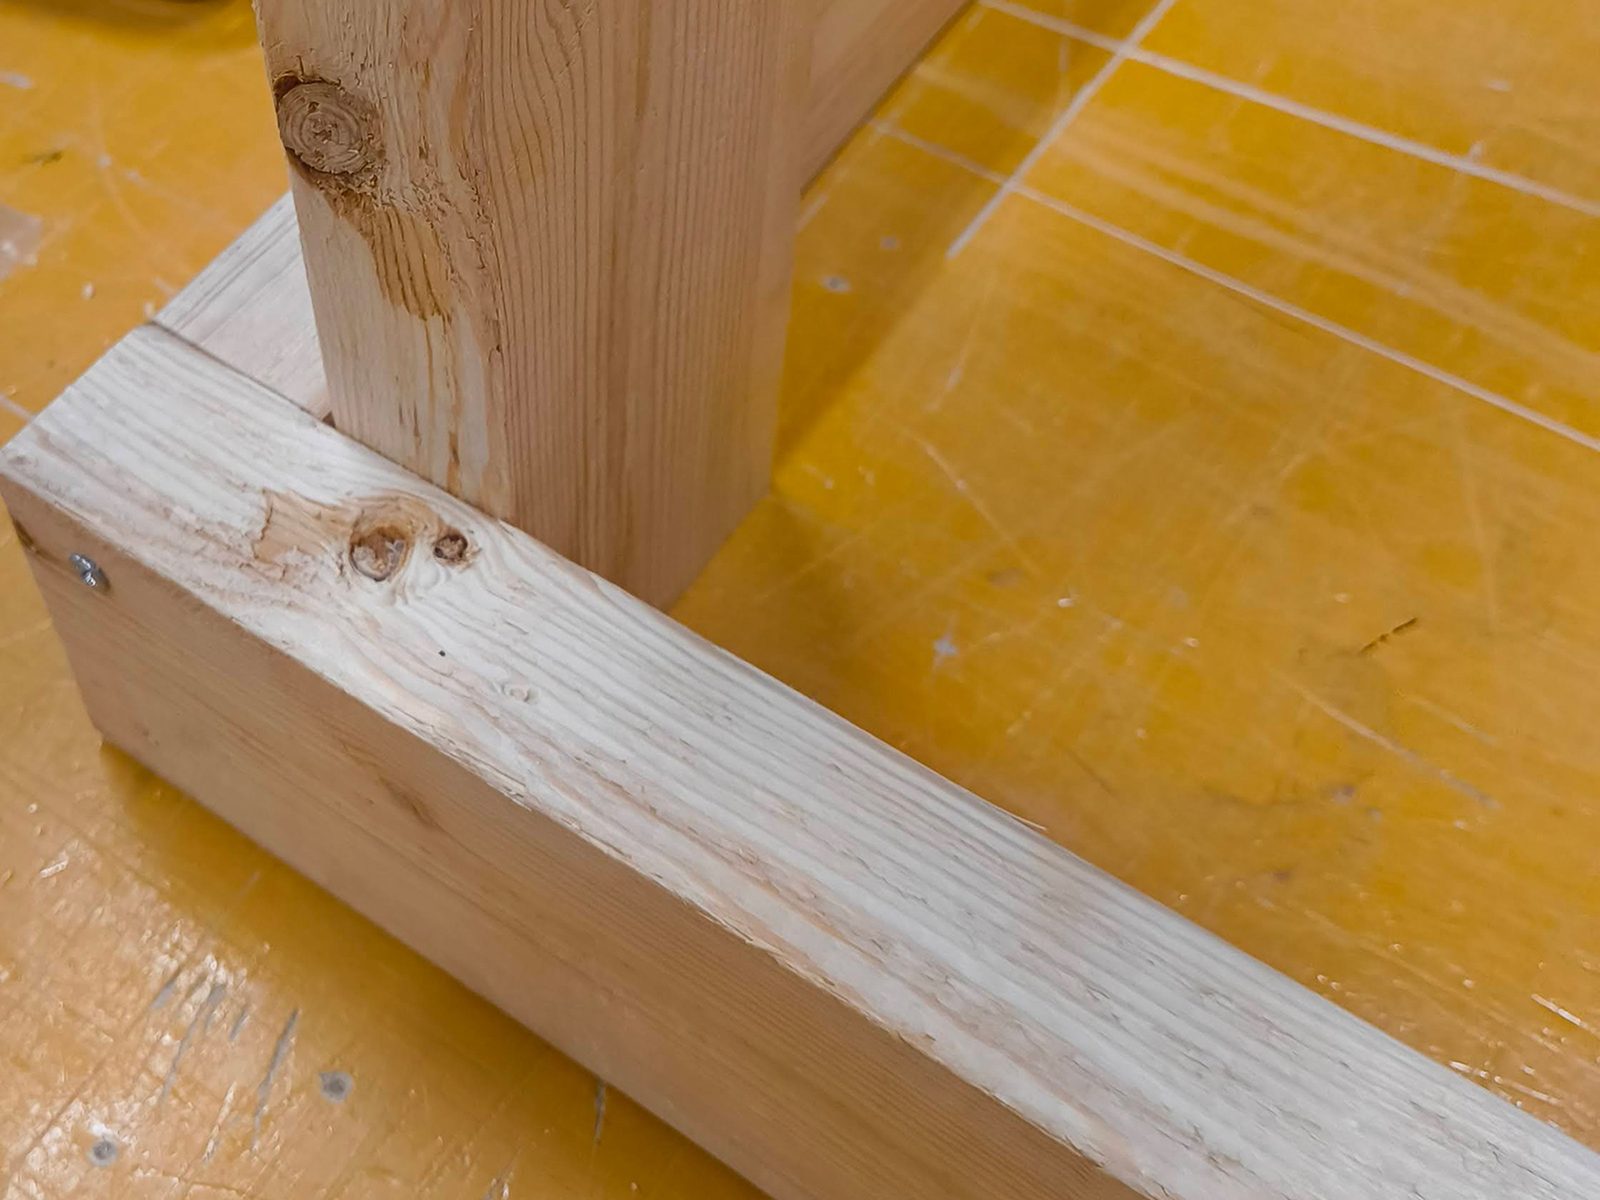
The top frame is a rectangle of 2x4s with a cross rail in the middle. The easiest way I found to get the legs flush with the top was to work upside down: lay the top frame on a flat surface, stand the legs in its corners, and screw them on. Everything lines up against the floor instead of against a tape measure.
2. Add the bottom frame and the shelf
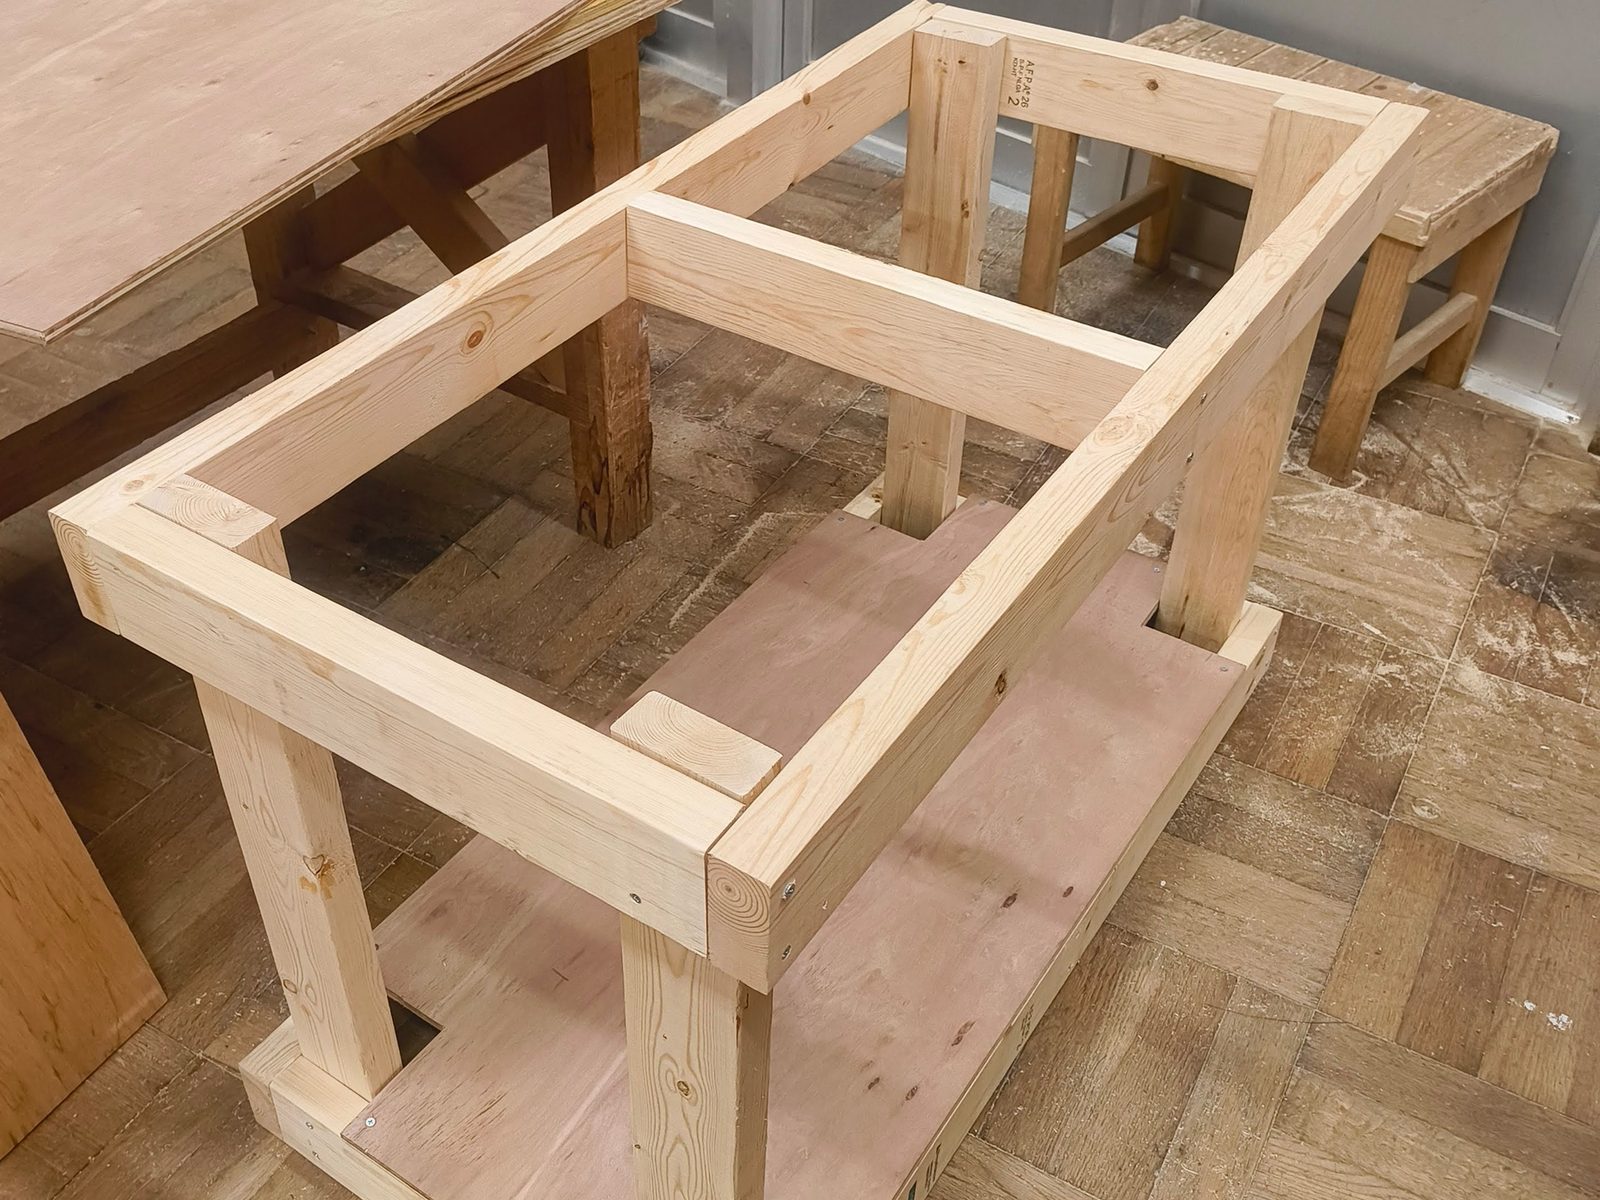
The bottom frame ties the legs together near the floor and carries the shelf. The shelf has a notch at each corner so it sits around the legs.
3. Screw on the top, then the casters
The plywood top overhangs the frame a little on every side, which gives you an edge for clamps. The casters go on 2x4 pads under the bottom frame. Measure your casters before you cut the legs: the mounting height of the caster decides how long the legs must be for the working height you want.
What went wrong (so you can skip it)
I cut the shelf notches the wrong way round
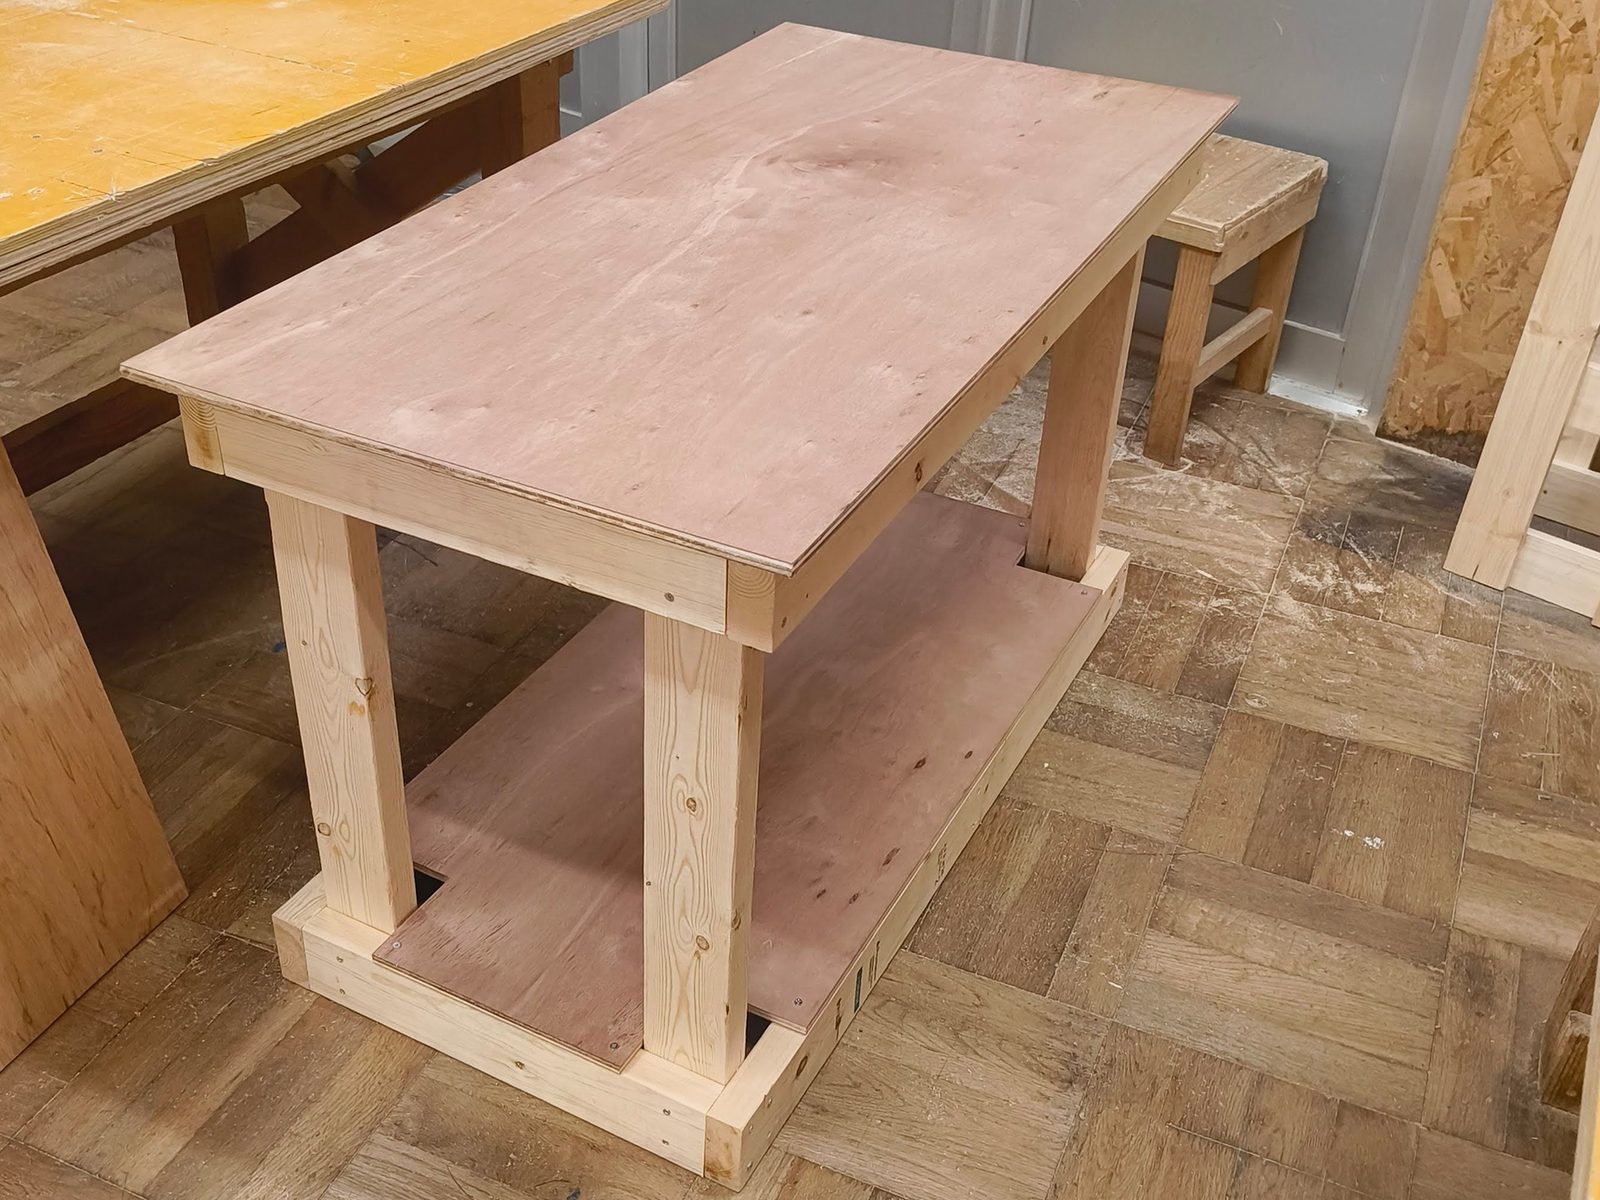
The corner notches are not square (77 × 129 mm on my bench), so they only fit one way. I cut them turned by 90°, and the shelf would not drop in. I fixed it by cutting the notches bigger, which left small gaps beside the legs. You can see them in the photos. The plans now say clearly which side of the notch runs along the long edge.
My pilot holes were too small
I started with a 2.5 mm bit, and the 5 mm screws were very hard to drive. A 4 mm bit was just right for those screws in my lumber. The plans call for 3 mm (1/8") pilot holes, and now add: if the screws are still hard to drive, go up one size.
Two brakes were not enough
I used two casters with brakes and two without. In a normal room the bench stayed put, but on a dusty workshop floor it slid when I pushed on it. Get casters with a brake on every wheel.
A few screws collided
Where two screws come in from different sides, they can meet inside the wood. Mark the screw positions before you drive them. The plans show where each screw goes.
Would I change anything?
Not much. For a first bench it does what I wanted: it is solid, it rolls, and the shelf holds the bulky things. If you have the room, the 6 ft version gives you a lot more top for the same build. I give no load rating, because it depends on your lumber, your screws and your casters.
Get the Plans
The PDF plans include, for each size, an overview drawing, an exploded parts view, a cut list, a shopping list, cutting diagrams for the plywood and the 2x4s, step-by-step 3D assembly, screw positions and a shelf notch drawing.
- Inch edition: US Letter, 37 pages, 4 / 6 / 8 ft
- Metric edition: A4, 40 pages, 1200 / 1800 / 2400 mm